
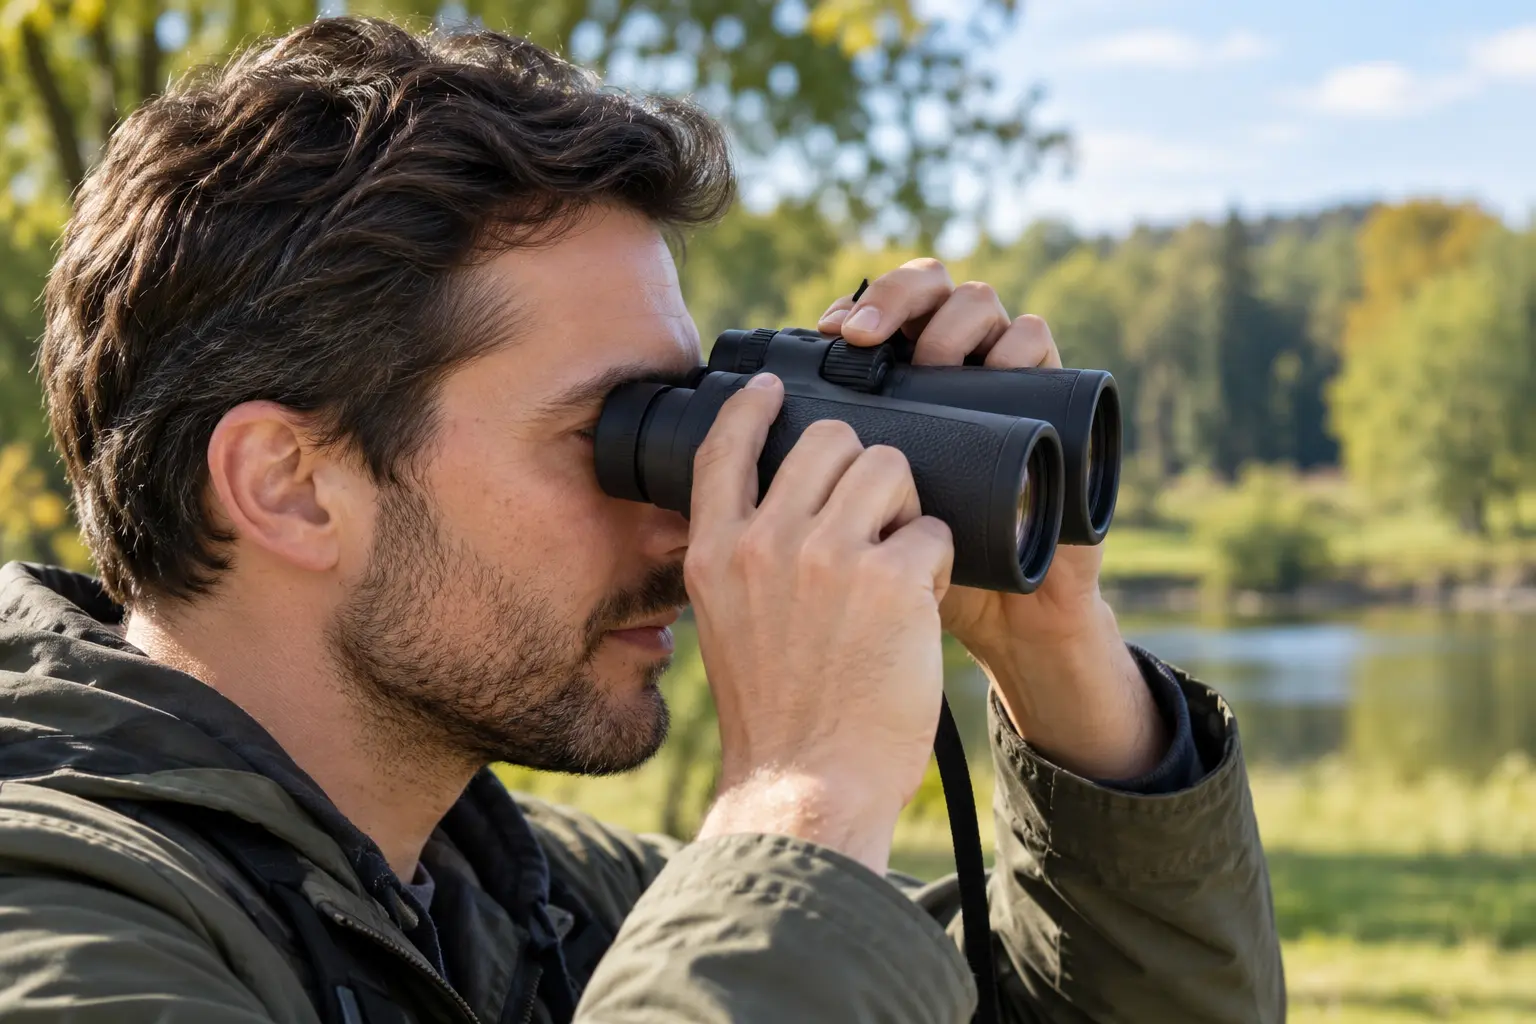
Learning how to adjust binoculars for your eyes begins with a detailed stationary subject, such as a distant tree trunk, sign or building. Stand or sit securely, away from traffic or an uneven trail. Do not start with a moving bird, because you will have difficulty separating an adjustment issue from subject movement. Never point binoculars toward the sun or attempt solar viewing without specialized certified equipment; concentrated sunlight can cause irreversible eye injury. Remove the lens caps, inspect for obvious dirt and confirm that the focus wheel turns normally without forcing it past its stops. Keep the manufacturer’s manual nearby if its control layout is unfamiliar.
Set the distance between the barrels
Move the binocular barrels inward or outward at the hinge until the two circular images merge into one comfortable circle. This is the interpupillary-distance setting, and it matches the distance between your eyes. If two circles remain partly separated, you may experience strain even when the image in each barrel is individually sharp. Do not force the hinge beyond its intended movement. Some very small or very wide faces may be incompatible with a particular model’s adjustment range. If family members share binoculars, each person should reset this spacing before use. The right setting is about comfortable alignment, not maximizing the width of the instrument. If adjustment still leaves the binocular uncomfortable, revisit how to choose birdwatching binoculars before blaming focus alone.

Position the eyecups correctly
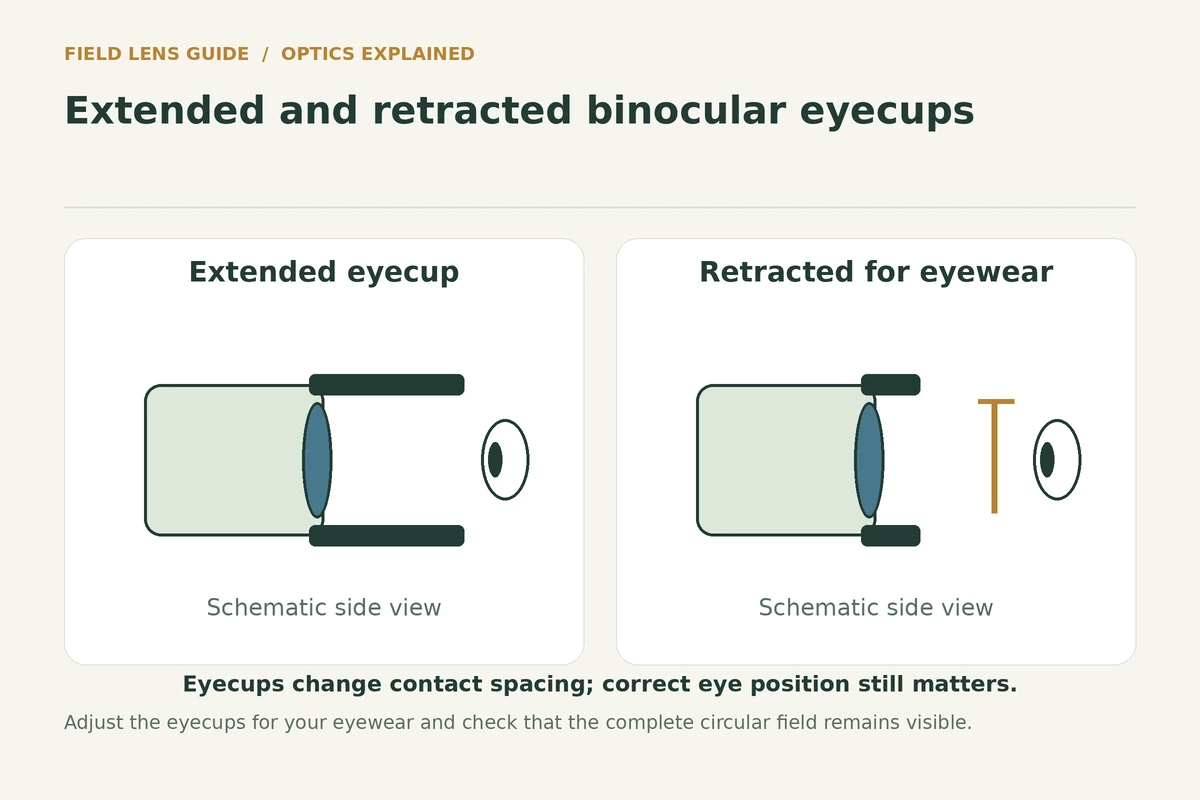
Eyecups help set the distance between your eyes and eyepiece lenses. If you wear glasses, retract adjustable eyecups or fold down rubber types according to the manufacturer’s instructions. Without glasses, extend them to a comfortable position. Intermediate stops may be preferable to either extreme. Look for a complete circular image with no cut-off edges. Dark crescents that move as you shift your head may mean your eye is too close or too far from the intended viewing point. Proper eyecup positioning is distinct from focusing. It cannot be replaced by turning the diopter or increasing magnification.
Identify the central focus and diopter controls
Conventional central-focus binoculars normally have a main focusing wheel between the barrels and a smaller diopter adjustment, often near the right eyepiece. The diopter compensates for differences in vision between your two eyes. Some premium models lock the diopter, while independent-focus models use a different adjustment method altogether. Confirm your binocular type before following generic instructions. Do not rotate a stiff control aggressively; it may be locked or already at its designed limit. The manufacturer’s manual determines which eye to calibrate first and how to release any locks safely.
Focus the reference eye
For a common design with the diopter on the right, cover the right objective lens or close your right eye. With your left eye, use the central wheel to bring the stationary target into focus. Move gently through the sharpest point and back again to make sure it is correctly set. Avoid choosing a low-contrast blank surface, since it is harder to judge sharpness. You might choose fine bark texture or printed lettering at a suitable distance. Keep your head in the same comfortable viewing position throughout. If your model’s manual specifies the reverse arrangement, use that instead.
Set the diopter for the second eye
Keeping the main focus unchanged, cover the left objective and view the same target using the right eye. Turn the diopter adjustment until the image looks sharp. Take time to compare the effect on fine details rather than forcing a quick setting. On a locking model, carefully engage the lock after calibration if the manual directs it. Open both eyes and confirm that the view looks like one clear image. If you share the binoculars, remember that another person may need to reset the diopter. The goal is to accommodate normal eyesight differences, not to force uncomfortable viewing.

Use central focus during observation
Once the individual eye correction is set, normal viewing usually requires only the main central focus wheel. As a bird changes distance from a nearby branch to a farther tree, turn the central wheel smoothly rather than adjusting the diopter repeatedly. If the image consistently seems blurry in one eye, verify that the diopter was not accidentally moved. When the focus wheel feels inconveniently stiff, do not assume that buying a higher-magnification model solves the problem. Focus ergonomics are an important product-selection factor and vary even among binoculars with similar optical specifications.
Troubleshoot blackouts around the view
Dark shapes that appear near the image edges can result from incorrect eye positioning. Try changing the eyecup height one step, then check whether a complete circular field returns. If you wear glasses and cannot see the full field despite correct hinge alignment and eyecup adjustment, usable eye relief may be insufficient. That is not a defect the central focus wheel can solve. Our eye relief guide explains how spectacle shape and recessed lenses alter fit. A binocular that is comfortable for one observer may be unsuitable for another with different glasses.
Recognize true double vision
If the instrument still presents two images after the hinge has been adjusted correctly, stop and check the viewing distance and your own eye comfort. Extremely close objects can be difficult to merge. Persistent doubling of a distant target may indicate optical misalignment or a problem with the instrument. Do not attempt to dismantle a sealed binocular or improvise prism adjustments. Contact the seller or manufacturer for a return or service assessment if needed. Continuing through headaches or eye strain is not a sensible way to adapt to a suspect optic. A diopter setting cannot reliably correct a mechanically misaligned binocular.
Adjust for glasses, contacts or changing conditions
People who wear prescription glasses should test the complete view using their normal frames. Contact lenses usually remove the physical spacing imposed by glasses, although personal comfort and medical advice still apply. If you switch between eyewear types, you may prefer a different eyecup position and should check focus again. In rain or cold weather, gloves can make controls difficult to use; learn the locations of the hinge, central wheel and diopter before a trip. Do not adjust binoculars while walking over unstable ground. Take a stable position and return your attention to the surroundings between views.
Maintain the optical surfaces
Blurry viewing can also result from moisture or smudges on the exterior lenses. Use a blower or soft optical brush to remove loose grit before wiping with suitable lens-cleaning materials. Rubbing dry grit with a shirt can scratch coatings. Follow manufacturer instructions about liquids and do not spray directly into focusing assemblies. After wet weather, dry the outside of the binoculars and avoid long-term storage in a damp case. Lens protection is distinct from focus calibration, but clean exterior optics make it easier to evaluate whether your adjustments are actually correct.
Practise finding birds quickly
After the binoculars are fitted to your eyes, practice using a fixed object you can spot without optical help. Look at a branch with naked eyes, then raise the binoculars to that exact point while keeping a relaxed stance. Use central focus as required. Repeat with objects at different distances. A wide field and manageable eight-times magnification can make the process easier for beginners, but technique matters with any format. Avoid repeatedly shifting the diopter during this exercise; the point is to develop a consistent transition between ordinary sight and magnified viewing.
The final setup checklist
Before every outing, check that the interpupillary distance provides one circular image, the eyecups suit your eyewear and both eyes are correctly focused. Verify that the diopter remains set and that the central wheel moves freely. If other people share the instrument, repeat the adjustment sequence as needed. Do not rely on memorizing one fixed setting if your glasses or viewing needs have changed. If the view remains uncomfortable, try a different model or seek suitable advice rather than forcing your eyes to adapt. A well-adjusted binocular should feel like an aid to observation rather than an obstacle.
References and related learning
About the author
Simon Jack
Simon Jack is the named author of FieldLens Guide's research-based binocular, spotting scope and wildlife observation articles. His published editorial approach focuses on verifying model-specific manufacturer specifications, explaining optical tradeoffs in plain language, and matching equipment to real birdwatching, hiking and nature-observation needs. These articles do not claim hands-on product tests unless explicitly documented.