
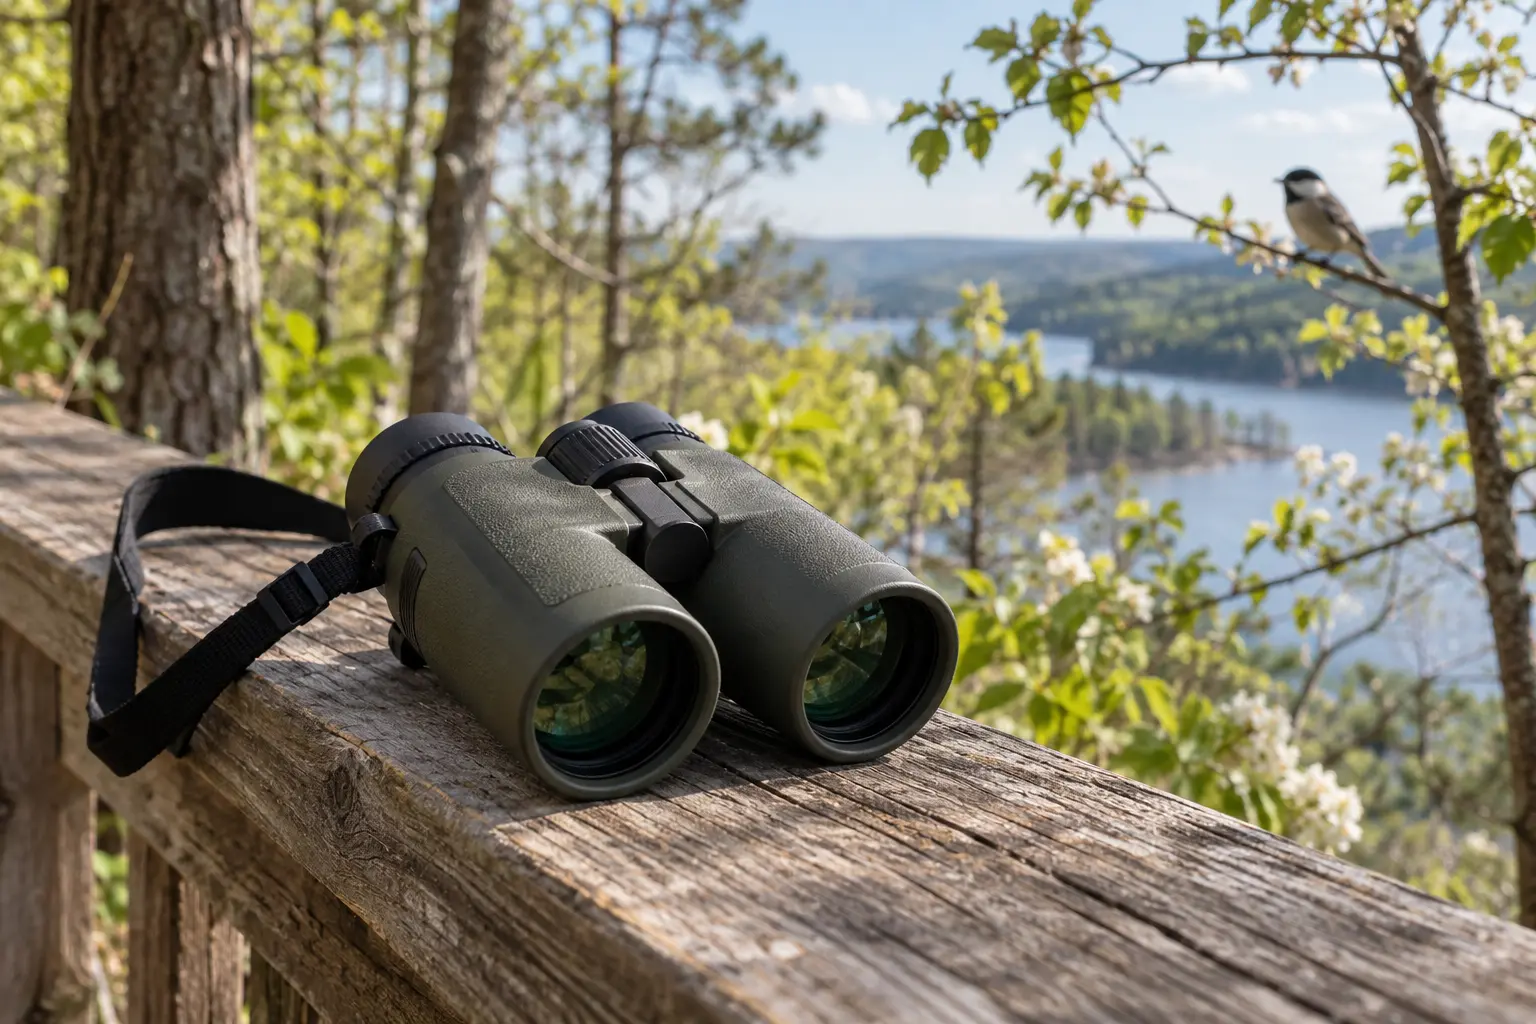
Learning how to choose binoculars for bird watching is easier when you begin with the places where you actually observe birds. Woodlands reward a wide field because birds move rapidly through dense branches. Coastal overlooks may make distant magnification more valuable. Backyard feeders require enough close focus to see birds only a few feet from a window. A person who hikes all day must carry the equipment comfortably, whereas someone using an observation hide might accept a heavier instrument. Write down your three most common locations, the approximate distances to your subjects and whether you mostly observe in bright daylight or dim conditions. Those details provide a more useful starting point than the largest magnification number.
For a child or someone with a narrower face, interpupillary fit and easy focusing can be more important than adult-oriented optical ratings. The binoculars for kids guide explains how to check eye spacing, weight and supervised safety before purchasing.
Understand magnification before buying
Eight-times magnification is a sensible starting point for handheld birdwatching, especially for a beginner still learning to acquire a moving subject. Ten-times gives a larger apparent image at a given distance, but usually makes hand shake more noticeable and often provides a narrower field of view. Neither format is inherently sharper. Optical quality, lighting and steadiness determine how much detail you can actually resolve. To compare them, use both while standing and looking at the same distant sign, then try following a moving subject. If you consistently lose the subject at 10x, the smaller image from 8x may produce more satisfying observation.
Choose the objective diameter with carrying in mind
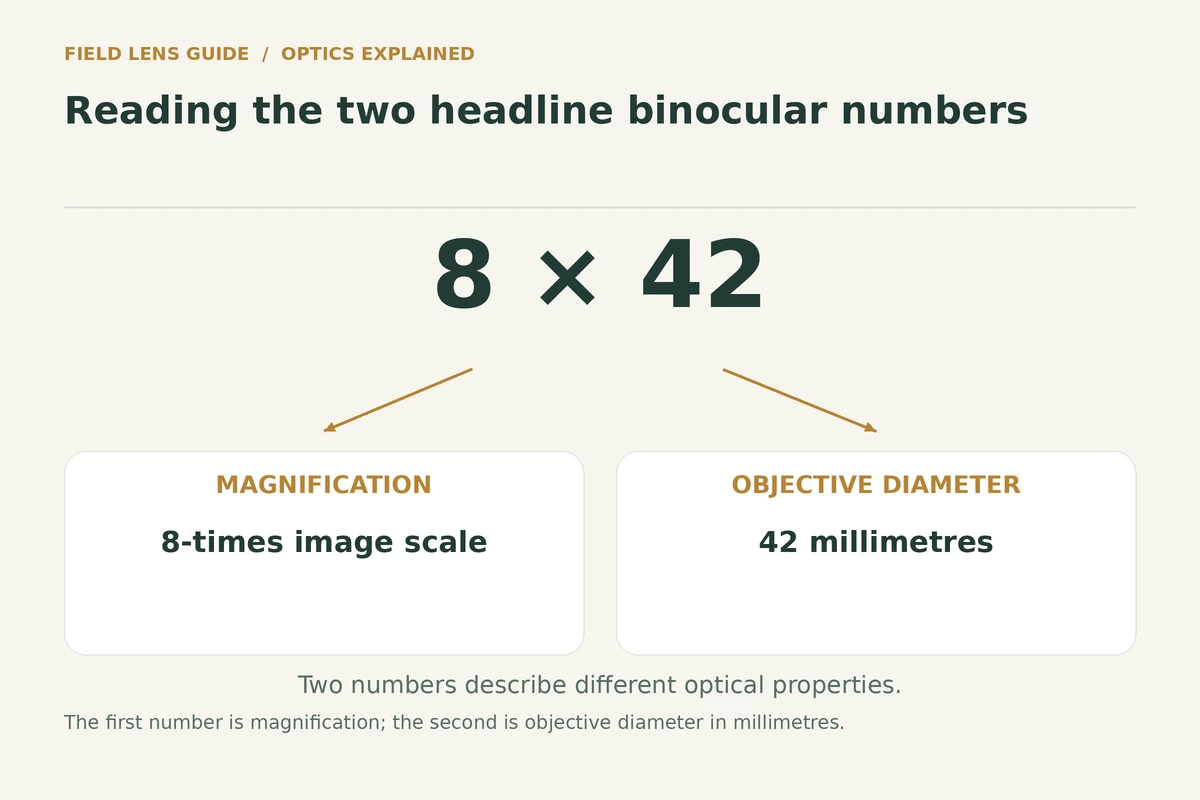
The second number in 8×42 means the binoculars have objective lenses that are nominally 42 millimetres across. An 8×32 uses smaller front lenses and often fits into a more portable housing. At equal magnification, a larger diameter produces a larger calculated exit pupil, which can be more forgiving of eye position and potentially useful when the eye is dilated. Actual light transmission also depends on coatings, optical design and the observer. Do not assume every 42 mm instrument beats every 32 mm instrument. If you carry binoculars for six hours and view birds for twenty minutes, lighter weight may be the better everyday tradeoff.
Check field of view carefully
Field of view tells you how much of the landscape appears inside the image at a standardized distance. Manufacturers may express it in degrees, feet at 1,000 yards or metres at 1,000 metres. Compare values using the same units. A wider field can help a new birder find an animal in the first place, especially in tree cover. It does not guarantee the edges are optically sharp. In addition, glasses wearers may fail to see the complete nominal field if usable eye relief is insufficient. When trying binoculars, look toward both edges of a recognizable scene and see whether you can view them without moving your head awkwardly. For the difference between real and apparent field measurements, see our field-of-view explanation. Use the guide to reading binocular specifications if the field, eye-relief and focusing figures on a shortlist need decoding.
Test fit with your normal eyewear
Eye relief describes the distance from the eyepiece at which your eye can see the complete image. Eyeglass frames can prevent your pupil from reaching that position. A published relief near or above 15 millimetres is a practical place to begin screening models, but the number alone is not decisive. Recessed lenses, eyecup shape and spectacle frames change usable distance. Retract the eyecups, set the binocular hinge so the two circles merge and check the full field with your own glasses. If dark edges remain, another model may be a better fit. See our eye-relief guide for a full fitting procedure.

Measure close focus for nearby nature
Close focus is the shortest distance at which binoculars can bring a target into focus. It matters when you watch feeder birds through a window, butterflies on nearby flowers or insects in a garden. Measure from your normal eye position to the closest subject. If that distance is shorter than the binoculars’ stated minimum, the instrument is unsuitable for the task even if it performs well on distant birds. People watching waterfowl across a lake may rarely need close focus. The smallest minimum-focus number is not necessarily a measure of overall optical excellence; it is one use-case specification.
Consider weight, grip and controls
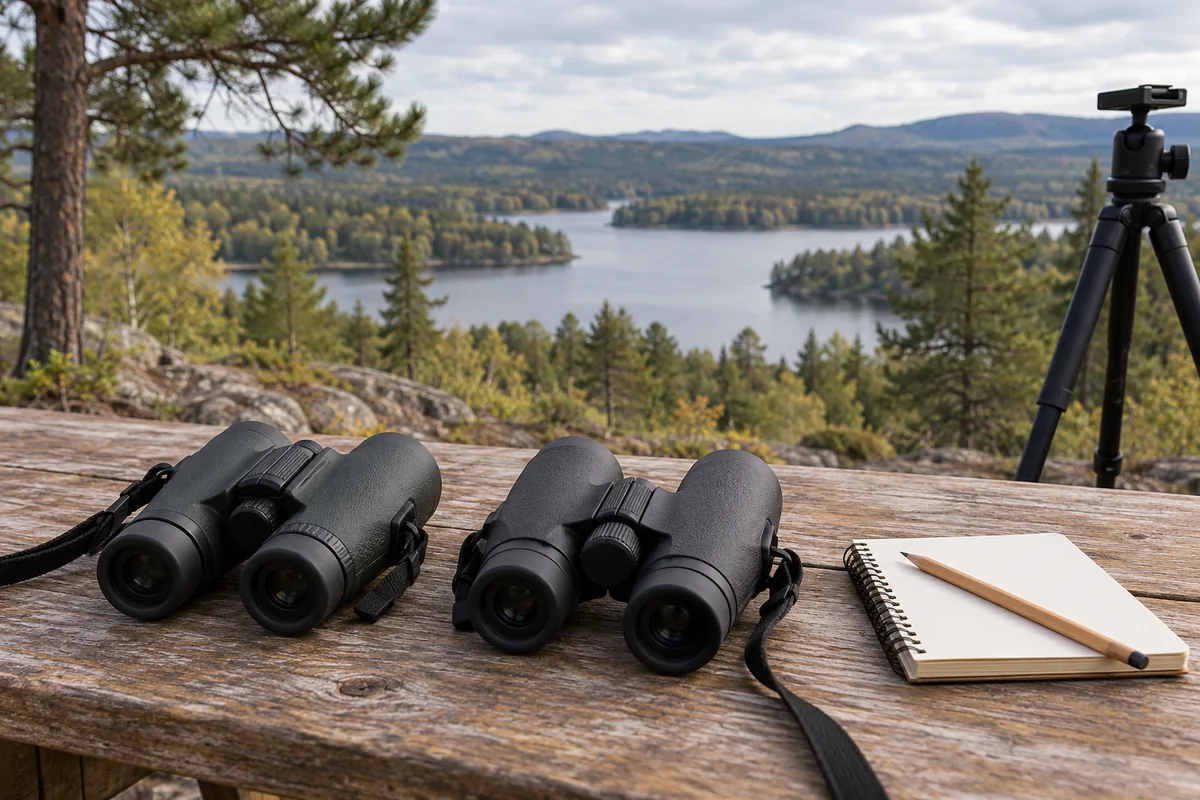
A comfortable grip encourages you to bring and use binoculars more often. Inspect the barrel shape, focus-wheel position and whether the diopter control stays where it was set. Hold the model for several minutes rather than lifting it briefly in a shop. Try focusing from near to far without shifting your hands into an uncomfortable position. A neck strap can cause fatigue over long walks; a harness may improve carrying comfort. However, it cannot fix a badly fitting eyecup or awkward focus wheel. Smaller 8×30 or 8×32 models are worth considering if a full-size 8×42 feels cumbersome. If portability is your main concern, compare the options in our lightweight hiking binoculars guide.
Evaluate optics without trusting slogans
Marketing terms such as HD, premium or extra-clear are not standardized measures of the quality you will see. Extra-low-dispersion glass can reduce some colour fringing when the optical design is executed well, and prism coatings can affect transmission and contrast. None guarantees that a particular model is the best. Where practical, compare the same dark branch against a bright sky, textured bark in shade and a distant sign through different models. Watch for central sharpness, distracting colour fringes and glare. If relying on independent reviews, look for identified samples and described test conditions rather than unsupported rankings.
Understand weather protection
Binoculars used outdoors can encounter rain, dew and dust. Water-resistant and nitrogen-filled descriptions are useful only when you understand the maker’s actual claims. A waterproof designation does not necessarily mean the instrument survives unlimited immersion, impact or careless storage. Follow the relevant cleaning and drying instructions. Remove loose grit before wiping lens surfaces and store the instrument dry. If you plan wet coastal walks, check warranty exclusions and environmental protection carefully. The ability to maintain the device easily is a practical part of long-term ownership, even though it rarely appears in flashy product advertising.
Compare specific models in a consistent way
Once you know your magnification and carrying preferences, create a comparison sheet listing exact model identifiers, field of view, eye relief, close focus, weight, dimensions, water protection and warranty coverage. Manufacturer specifications should be sourced from the correct variant rather than inferred from a similar product name. Decide which three specifications are essential to your activity and which are merely attractive extras. Buying from a seller with clear returns is valuable if you cannot try the exact pair. Our budget binocular guide separately addresses readers who have a strict price ceiling. For full-size 8×42 candidates, see our five-model 8×42 comparison.
Practise setup and bird acquisition
Before heading into the field, set the hinge spacing so you see one circular image, adjust eyecups for your eyewear and follow the manufacturer’s diopter calibration instructions. Find a distant tree with your naked eyes, then lift the binoculars without losing its position. Practise moving focus between branches at different distances. When a real bird appears, use the naked-eye view to fix its location before raising the binoculars. This small habit often improves the experience more than buying an instrument with higher magnification. Never use binoculars to look at the sun because concentrated light can permanently damage eyesight.
Decide what you can afford to maintain
Consider total ownership cost, not merely the price on a product page. A suitable strap, basic protective case and warranty support can be important. Avoid low-quality bundles that distract from an instrument’s actual usability. If two binoculars feel similar, investigate differences in seller reliability, return coverage and after-sales service. Current prices can change, and a manufacturer’s list price is not necessarily the live Amazon cost. Confirm the exact model generation and whether a retailer ships to your region. Spend extra only when you can identify a real benefit, such as greater comfortable field or easier focusing.
Final buying checklist
For general use, start by trying a comfortable 8x model with a wide usable field. If hiking is important, compare an 8×30 or 8×32 with a full-size 8×42. Test with your actual glasses, check minimum focus against the distances at which you observe, and verify that the focus wheel can be operated naturally. Compare the exact models against manufacturer documentation and credible independent testing. Choose the model you are likely to use repeatedly rather than the one with the most impressive headline numbers. The right binocular should make observing birds easier, not turn every outing into a struggle with controls.
References and related learning
About the author
Simon Jack
Simon Jack is the named author of FieldLens Guide's research-based binocular, spotting scope and wildlife observation articles. His published editorial approach focuses on verifying model-specific manufacturer specifications, explaining optical tradeoffs in plain language, and matching equipment to real birdwatching, hiking and nature-observation needs. These articles do not claim hands-on product tests unless explicitly documented.