

Choosing binoculars for kids is mainly about interpupillary fit, manageable weight, easy focusing and safe supervised use. Adult binoculars labelled compact are not automatically suitable for a smaller face. A successful first pair should encourage comfortable nature observation rather than simply offer high magnification.
Start with pupil spacing
The distance between the centres of a person’s pupils is called interpupillary distance, often abbreviated IPD. Binocular barrels need to adjust so both optical channels line up with the observer’s eyes. Some children cannot bring wide adult bodies close enough together to see one merged round image. Read the manufacturer’s stated IPD range and compare it with the intended user’s fit, preferably through supervised trying. A model that cannot align both eyepieces comfortably should not be selected just because its price or colour is appealing.

Why lightweight matters
Children may tire more quickly when holding large binoculars, and fatigue makes magnified images shake. A manageable body encourages repeated short looks rather than one frustrating long session. However, the lightest folding pocket optic may have tiny controls and limited eye relief, so weight alone is not enough. Choose a balanced binocular the child can raise with both hands while standing safely. If the grip is uncomfortable or the focus wheel is inaccessible, the user may stop enjoying the observation before learning any field skills.
Consider modest magnification
A six-times, seven-times or eight-times pair is often easier for a beginner to hold steadily than very high-power binoculars. The view can include more surroundings and show less apparent hand movement. That may help a child find a bird seen with unaided eyes. However, actual field width still depends on eyepiece design, and not all eight-times models are equally comfortable. Avoid choosing a huge advertised magnification as a gift without checking whether the child can acquire and follow ordinary subjects.
Check field of view
A broad field makes finding moving birds or following an animal across a park easier. Manufacturer figures may be expressed in degrees or feet at 1,000 yards; compare the same type of measurement. A narrow field can cause frustration because the subject disappears as soon as the binocular is raised. Practice aiming at a large stationary sign or tree before moving to small birds. Technique matters, and a beginner should not be judged by an inability to locate a fast-moving subject during the first outing.
Focus wheel size and position
A child needs to reach the central focus control without losing the grip. Large simple controls may be preferable to tiny wheels on some compact folding models. Ask the child to look at a safe distant sign and turn the wheel until the text appears clear, then repeat toward a tree closer by. If the instrument needs excessive force or the wheel cannot be reached without shifting both hands, it is a poor match. The best optical specifications cannot correct awkward handling.
Eyecups and eyeglasses
Children who use prescription glasses may need enough eye relief to see the full circular field with glasses in place. Retractable eyecups help only if the optical design provides an appropriate viewing distance. Never assume a compact model is eyeglass friendly. For example, some modern pocket travel binoculars have only 10 mm of nominal eye relief, far shorter than many full-size alternatives. Personal fitting and a complete clear view are more important than a generic age recommendation printed on the packaging. For a child who wears glasses, use the explanation of eye relief with glasses alongside the hinge-width and size checks.
Safety around the sun
Never let a child look at the sun through binoculars. Magnified sunlight can cause permanent and irreversible eye damage, even during a brief accidental look. Supervise the direction of observation and explain the rule before going outdoors. Also teach the child to lower the binoculars before walking, crossing paths or approaching stairs. A narrow magnified field hides nearby hazards. Choose safe observation locations with secure footing and clear boundaries rather than steep banks or crowded roads.
Keep wildlife undisturbed
Binoculars allow children to observe birds and mammals without approaching them. Teach them to watch from permitted trails and viewpoints, avoiding nests, dens and resting animals. Do not feed wildlife, chase it or leave the path to force a better view. The National Park Service recommends optical aids for watching wildlife at safe distances. Explain that an animal changing its behaviour or retreating can be a signal to give it more space. Responsible observation is an educational goal, not merely a rule that adults impose.
Durability without misleading promises
Rubber armour can protect against some handling bumps and improve grip, but does not make an instrument drop-proof. Water-resistant and waterproof claims need to be checked for the exact model. A child may naturally handle equipment roughly, so a secure strap and practical protective case are valuable. Avoid using an overly heavy pair in the belief that larger equipment must be sturdier. Look at warranty and repair support, and teach a simple storage routine to reduce accidental damage.
A child-friendly nature activity
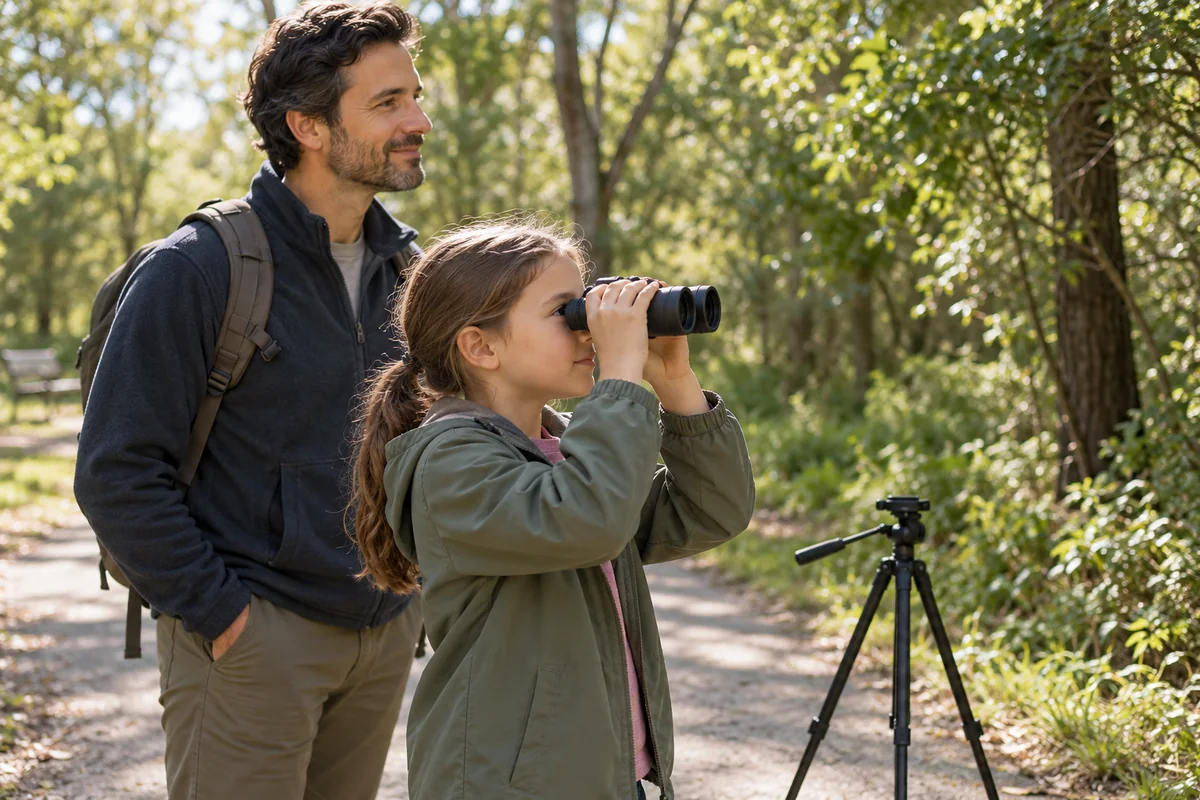
Begin with stationary objects such as a sign, bird feeder or distant tree, using a safe accessible location. Explain how to locate the target with unaided eyes and then raise the binoculars without moving the gaze. Encourage observations of shape, colour and movement rather than immediate species naming. A field notebook or simple sketch can make the session engaging without demanding expensive equipment. Let the child take breaks and maintain comfortable posture. The objective is developing curiosity and patient observation, not reaching a performance benchmark.
Know when toy optics are enough
An inexpensive toy binocular can be suitable for pretend exploration, but its advertised magnification and optical quality may be unreliable. If the child wants to identify actual birds, look for a real manufacturer with measurable IPD, field, focus and lens specifications. A budget real binocular that fits properly is often more useful than a novelty device claiming extreme power. Yet there is no need to purchase premium ED optics as a first step. Comfort, safety and genuine curiosity should determine the budget.
How to fit in a store
With adult supervision, adjust the hinge until the child sees one circular field. Set eyecups properly and let them focus a distant static subject. Check whether the image stays clear when both hands support the body. Try a short observation to identify whether the binocular is too heavy or the strap uncomfortable. Do not force the child to use an adult eye spacing or press the eyepieces against the face. If the fit is wrong, try a model with a different stated IPD range rather than hoping the child will adapt.
Cleaning and storage habits
Teach the child to cap lenses after use and to put the binoculars in their case before putting them in a backpack with hard objects. Do not rub dusty glass with a shirt sleeve. An adult can help with manufacturer-approved cleaning when necessary. After a wet outing, allow the exterior and case to dry appropriately. Keeping the instrument usable over time is part of a practical learning experience, and a simple routine helps avoid damage from dirt, moisture or accidental knocks.
How needs change over time
As a child grows, face width, hand size and interest can change. A pair that currently fits may be replaced later by a full-size 8×42 for more sustained birdwatching. Avoid overspending for speculative future use if today’s equipment is uncomfortable. A binocular that fits and is used regularly can teach more than a premium adult pair left on a shelf. The next upgrade should respond to a real constraint—such as field width or light gathering—not merely a desire for larger numbers.
Final selection checklist
Confirm actual interpupillary fit, easy focusing, comfortable weight, sensible magnification and a safe carrying strap. Let the child try the equipment with their usual glasses if applicable. Teach never to observe the sun or walk while looking through the instrument, and keep wildlife at a respectful distance. Use supervised short sessions to build confidence. The best first binocular is one that allows the child to see one clear image and develop a lasting interest in the natural world.
Further reading
Related family birdwatching resources
Once a young observer can achieve a comfortable merged view, our binocular adjustment guide explains the focusing sequence. The beginner binocular comparison can help families evaluate practical adult and older-child models without assuming every compact pair fits every pupil spacing.
About the author
Simon Jack
Simon Jack is the named author of FieldLens Guide's research-based binocular, spotting scope and wildlife observation articles. His published editorial approach focuses on verifying model-specific manufacturer specifications, explaining optical tradeoffs in plain language, and matching equipment to real birdwatching, hiking and nature-observation needs. These articles do not claim hands-on product tests unless explicitly documented.