
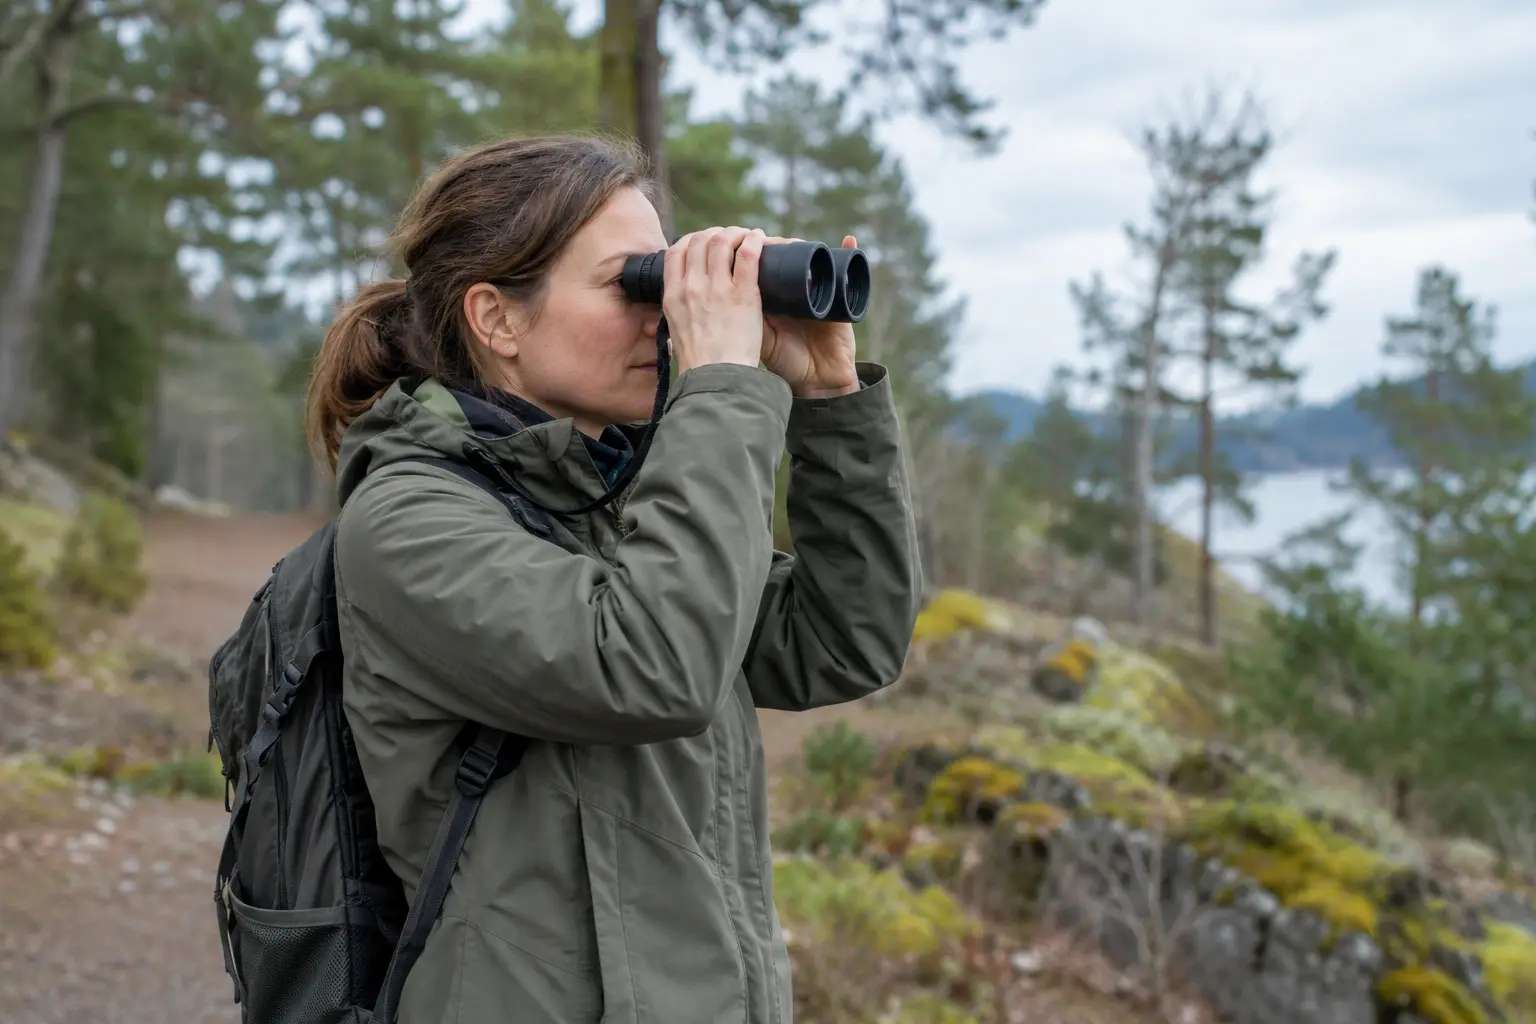
For a steadier binocular view, settle your stance, bring your elbows close to your body and use a safe seated or supported position when practical. Adjust the hinge, eyecups and focus before judging how much shake remains. This guide explains how posture, grip, magnification and wind affect handheld viewing, and when a suitable support is the more useful choice.
Why hand shake is visible through binoculars
How to hold binoculars steady matters because magnification makes normal small hand movements more apparent. At ten-times magnification, a subject can seem to wobble much more than through the unaided eye, especially after climbing a hill or carrying a heavy pack. Shaking is not necessarily a defect in the binoculars. It comes from the combination of natural arm movement, posture, fatigue, wind and the instrument’s weight and grip design. The aim is to control avoidable movement without squeezing the instrument so hard that your muscles tire. A clear subject at eight-times can often be more useful than a larger but constantly moving image at twelve-times.
Start with a balanced stance
Stand with feet planted comfortably apart and distribute your weight evenly. Avoid locking your knees or stretching your neck toward the target. If the ground is uneven, select a secure stable position before lifting the binoculars. Keep your torso facing generally toward the subject instead of twisting sharply at the waist. When you need to turn, move your feet and whole body gradually. These simple changes reduce larger sway from the legs and torso. Never try to keep viewing while stepping across an obstacle, walking on a steep slope or standing near an unprotected edge. Safety matters more than sustaining magnified observation.
Bring elbows closer to your body
Holding elbows far out to the sides forces shoulder muscles to support the binoculars with little structural help. Gently tuck the elbows toward your ribs or torso where comfortable. Let the binoculars rest securely in both hands and avoid straining the wrists. You may find it helpful to move your grip slightly forward or backward depending on the body design. The goal is a relaxed triangle of support rather than rigid pressure. This is especially useful for full-size 8×42 and 10×42 models carried during long walks. If arm fatigue appears, lower the optics and rest instead of trying to hold through it.

Use a tree, railing or solid structure carefully
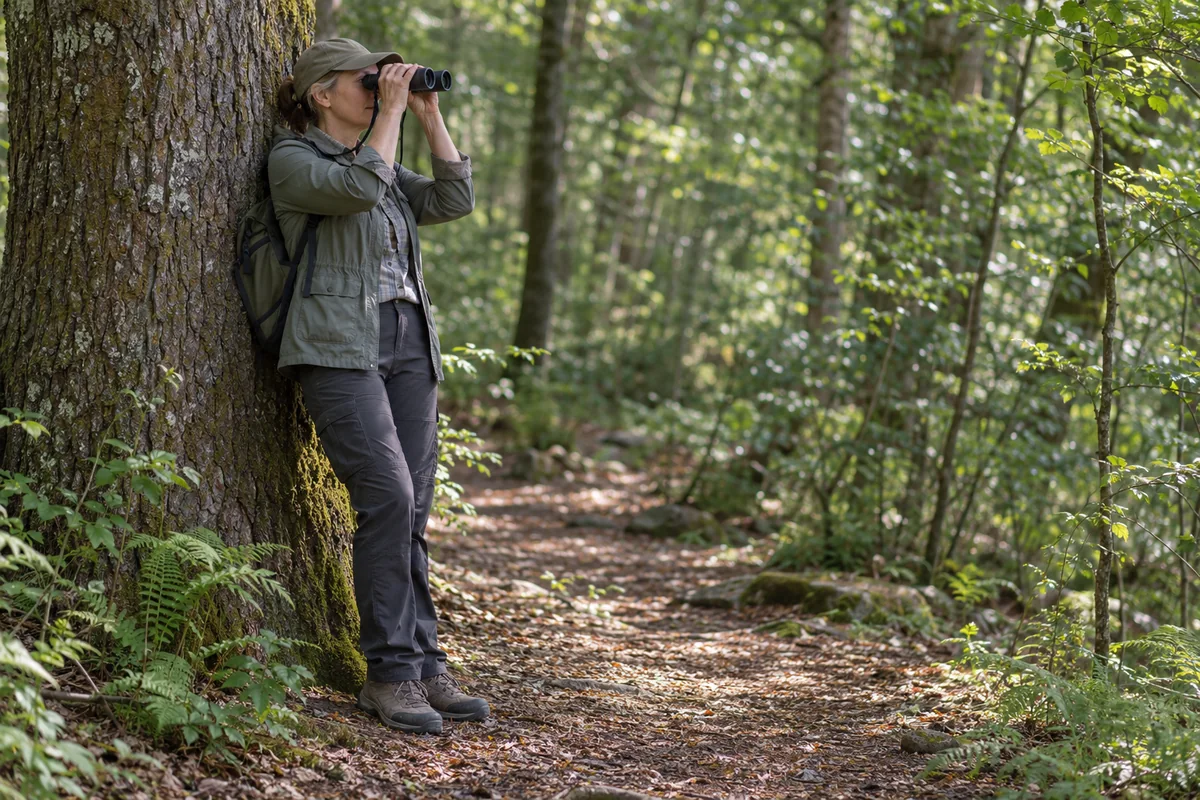
A stable nearby support can noticeably reduce visible movement. Lean your back or shoulder gently against a safe tree trunk or post while keeping your normal viewing posture. A solid railing can support elbows, but do not climb or lean dangerously over it. Check that the surface is not loose, sharp or coated with contaminants that could damage the binoculars. A support is useful because it transfers some movement away from the arms. It should not be used if reaching it would require leaving a marked trail or approaching wildlife more closely than permitted. Choose the vantage point before trying to improve the image.
Try seated observation
Sitting on a stable bench or the ground can lower whole-body sway during an extended viewing session. Support your elbows on your thighs or knees where comfortable, keeping the binoculars oriented toward the subject. Avoid resting bony points on a hard unstable edge if it introduces more shaking. On cold or wet terrain, use a suitable designated seat rather than sitting in vegetation that may be sensitive. A seated position can be especially useful for shorebirds or distant perched mammals that remain in view for several minutes. Always confirm that the area is safe and permitted before settling for an extended observation.

Use the binoculars’ natural balance point
Different models distribute their mass differently. A compact roof-prism 8×30 may be easy to grip around the centre, while a larger 10×50 might need hands positioned farther forward. Test your grip on a stationary subject and check whether the focus wheel can be reached without shifting support. Do not squeeze the tubes hard enough to strain the forearms or change the hinge alignment. A secure relaxed grip makes it easier to make small focusing changes without shaking the whole body. Some binoculars include textured armour or thumb indents, but these features are only useful if they suit your individual hands.
Make focusing movements smaller
Turning the central focus wheel with a sudden force can rock the entire instrument. First locate a detailed feature through the view, then make gentle movements with one finger while the other hand continues supporting the body. Pause after the adjustment and let the image settle. If the focus mechanism feels unusually stiff or difficult to access, a different ergonomic design may be more comfortable. Do not attempt to repair a stiff sealed focus system by adding household lubricants. A smooth focusing action is a meaningful buying consideration, especially when watching birds moving between branches.
Breathe normally rather than holding strain
Some observers find that making a brief observation during a naturally calm part of their breathing cycle reduces body movement. That can be useful, but avoid prolonged breath-holding, dizziness or excessive tension. Take relaxed breaths and lower the binoculars between views as needed. The purpose is steadier observation, not forcing the body into an uncomfortable position. After strenuous hiking, allow your breathing and heart rate to settle before evaluating extremely distant fine details. A few moments of comfortable rest may improve what you can resolve more than increasing magnification.
Use a strap or harness appropriately
A binocular strap or harness can prevent excessive swinging while you walk and keep the instrument ready for quick use. It is not the same thing as an image-stabilization system. In some situations, holding a strap gently taut may offer a little extra support, but the effect depends on its design and should never be treated as a guaranteed steadiness improvement. Check attachments and use the manufacturer’s recommended carrying method. Our binocular harness comparison addresses weight distribution and protection separately from techniques for controlling the view while the optics are raised.
Reduce magnification when needed
Eight-times binoculars are frequently easier to hold steady than higher-power alternatives because the subject’s apparent motion is less magnified. Ten-times can be beneficial on distant open terrain, but this advantage may disappear if shaking hides the very detail you hoped to see. A wider field can also help recover a subject that moves unexpectedly. If you already own a high-power model, experiment with bracing rather than assuming you immediately need new equipment. When shopping for general wildlife viewing, compare the actual steadiness of an 8×42 and 10×42 while standing, not just their magnification numbers.
Watch weight and fatigue over time
A binocular that feels pleasantly substantial for thirty seconds can become tiring after ten minutes of continuous viewing. Larger objectives and heavy metal housings may increase the load. The lightest instrument is not automatically easiest to hold, because body balance and grip shape also matter. Try viewing a stationary subject for several minutes and note whether the arms begin to tremble or the binoculars drift downward. Take regular breaks rather than pushing through discomfort. For repeated long observations, consider a tripod-compatible mount or a spotting scope where practical. Carrying comfort and viewing steadiness should be considered together.
Avoid too much digital or optical magnification
A phone held behind binoculars may crop and digitally enlarge the optical image. That makes every small vibration more visible and can introduce blur or artifacts. Similarly, extremely high-power binoculars demand a level of support that many handheld observers cannot provide comfortably. Choose the lowest power that resolves the required feature and move to a stable supported instrument when necessary. A sharp image revealing genuine detail is more useful than an impressive large image in which the animal’s markings smear together. This principle applies to distant wildlife, birdwatching and casual landscape observation.
Wind and weather affect the result
A breeze can move your clothing and arms, making the binocular image wobble. If possible, turn toward a sheltered safe viewpoint or use an existing windbreak without leaving the designated observation area. Wet gloves can also reduce grip confidence, so check that the binocular armour and strap are secure before raising the instrument. Do not stand on unstable slippery rock to escape the wind. In harsh conditions, the responsible choice may be to observe from a vehicle, permitted hide or another protected location rather than forcing a difficult handheld shot.
Learn a smooth subject-acquisition sequence
First locate the target with unaided vision. Fix your gaze on a clear landmark next to it, then bring the binoculars to your eyes while keeping your body stable. Adjust focus gently and track slow movement by turning the upper body rather than waving both arms independently. If the bird or mammal disappears, lower the binoculars, reacquire the position and lift again. Random searching through a narrow view wastes energy and can increase frustration. A wide-field 8x model may make this technique particularly approachable for beginners, but practice helps with most binoculars.
Know when a monopod or tripod is justified
For an extended distant view, a stable mounting system may be more useful than another handheld technique. Some binoculars have a tripod adapter socket, while very large binoculars may require a supported cradle. Confirm mount compatibility before buying accessories. A monopod can reduce some arm fatigue but does not provide the same stability as a properly set tripod in all directions. If the goal is to study stationary shorebirds or faraway mammals for many minutes, a spotting scope on a suitable head may be more practical than holding 12x binoculars continuously. Match the support to the instrument and terrain.
A simple steadiness practice session
Select a distant sign or textured tree from a safe stationary position. Look through binoculars while standing normally, then repeat with elbows gently supported and shoulders relaxed. Compare the amount of visible motion without changing magnification or lighting. Next try sitting, or bracing safely against a stable object, and notice which approach is most comfortable for you. Practise gentle focus-wheel movements and lifting directly toward a remembered landmark. Do not judge yourself against a fixed standard; different people have different strength, mobility and viewing needs. The objective is finding a repeatable technique you can use naturally.
Final practical checklist
Use stable footing, a relaxed balanced posture and a secure grip. Keep elbows near the torso where comfortable, make small focus adjustments and allow yourself to rest after exertion. Support the body against a safe solid surface or observe seated when appropriate. Choose manageable magnification and do not chase high power at the expense of detail. Lower binoculars before walking, remain at wildlife-safe distances and use mounted equipment for prolonged study when handheld techniques are insufficient. These choices improve clarity through fieldcraft rather than relying on an unsupported product claim.
Further reading
About the author
Simon Jack
Simon Jack is the named author of FieldLens Guide's research-based binocular, spotting scope and wildlife observation articles. His published editorial approach focuses on verifying model-specific manufacturer specifications, explaining optical tradeoffs in plain language, and matching equipment to real birdwatching, hiking and nature-observation needs. These articles do not claim hands-on product tests unless explicitly documented.