

Learning how to clean binocular lenses safely begins with deciding whether the lenses require attention. A small amount of exterior dust may have little effect on ordinary viewing, and unnecessary wiping increases the opportunity for scratches. Fingerprints, salt residue or a layer of grime deserve more attention. Examine the lens surfaces in ordinary light without pointing the instrument toward the sun. If the view is clear and there is no obvious contamination, leave the glass alone or use a gentle approved blower. The goal is maintaining practical clarity and preserving coatings, not creating an unrealistically spotless surface after every walk.
If moisture or humidity is the reason you are cleaning, first distinguish external condensation from dirt using our fogging prevention guide. For coastal or rainy conditions, consult waterproof versus water-resistant ratings before following any rinsing advice.
Prepare a clean and stable workspace
Use a dry, well-lit area away from windborne dust, water spray and unstable surfaces. Clean your hands before handling the optics, and set lens caps somewhere they will not collect new grit. A soft lens brush, appropriate bulb blower, clean optical cloth or lens tissue, and any manufacturer-approved cleaner should be within reach. Check the manual for the exact instrument because coatings, waterproofing and cleaning recommendations can differ between generations. Do not assume that household window products, ordinary tissues or fabrics intended for furniture are safe for modern optical surfaces. A little preparation prevents rushed and damaging work.
Remove dust and sand before wiping
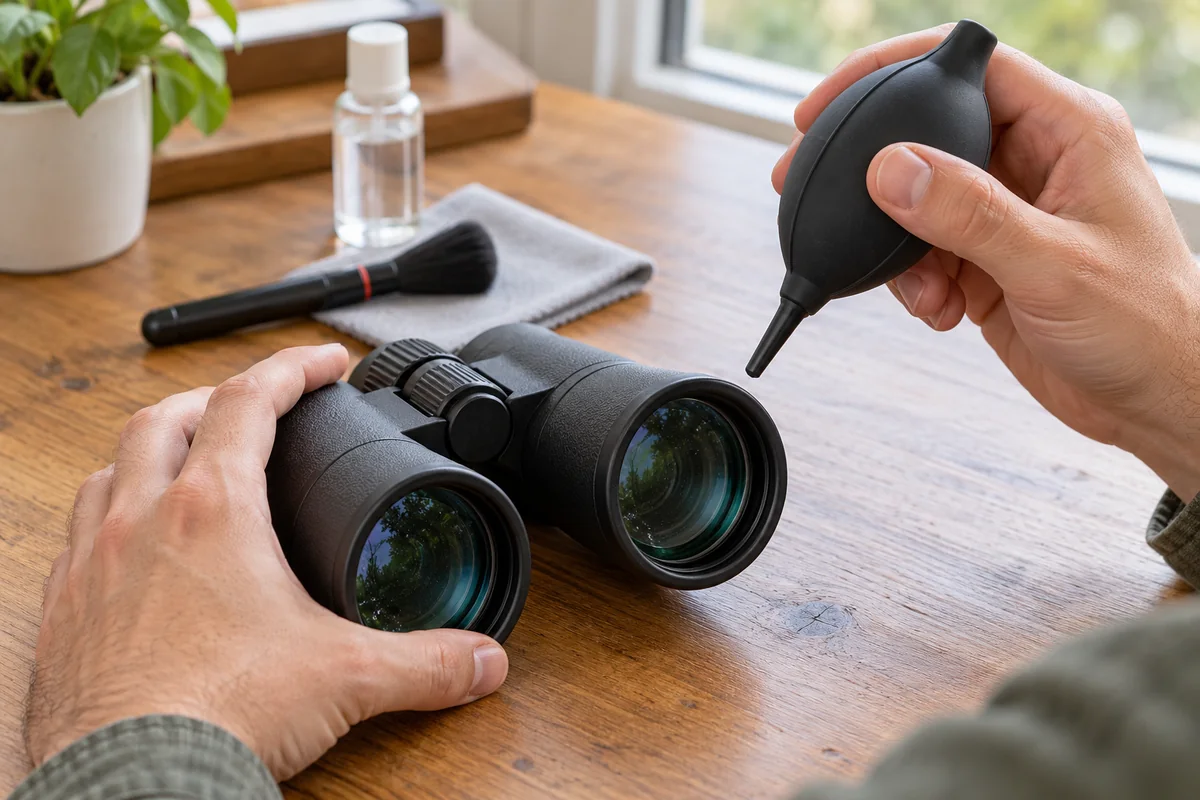
The most important sequence is dry particle removal first, wiping only when needed. Dust, sand and small grit particles can act like abrasives if dragged across coated glass. A gentle air blower or a soft oil-free brush can remove loose contamination without pressing it into the surface. Do not blast compressed industrial air into eyepiece openings; pressure and propellants may create problems. Inspect the lens after this first pass. If grit remains attached, resist the temptation to scrub harder. Follow the manufacturer’s directions for stubborn contamination or seek professional guidance when the particles will not lift safely.
Dealing with fingerprints and skin oils
Fingerprint oils can leave a visible haze. Once loose grit is removed, use an approved lens tissue or clean optical cloth with only the solution recommended for your binoculars. Nikon’s maintenance directions describe particular suitable cleaning materials, but other products may have different guidance. Do not soak the eyepiece or spray fluid directly into gaps around the focusing mechanism. Gentle contact is preferable to firm rubbing. Replace or wash cleaning materials as directed; a dirty cloth can redistribute oil and particles. If a mark persists, reconsider the approved method before trying stronger chemicals or pressure.
Why shirt sleeves and paper towels are risky
Convenient cleaning materials are not necessarily gentle on precision coatings. A shirt sleeve may contain fine dust, dried sweat or fibres that drag contamination across glass. Paper towels and ordinary tissues can also be abrasive or shed particles, depending on their composition. Nikon specifically cautions against unsuitable tissue and fabrics that may scratch lens surfaces. Carry a properly stored optical cloth when hiking, but remember that the cloth itself must remain clean. The simplest risk reduction is to remove loose grit before any contact and wipe only when the contamination affects viewing.
Avoid liquid inside moving parts
Focus wheels, diopter rings and adjustable eyecups often sit near external optical surfaces. Liquid that reaches these assemblies may cause unwanted effects even when the housing is designed to resist rain. Use only the amount of fluid and application method recommended for your model; never assume that waterproof marketing allows unlimited chemical cleaning. Do not force an eyecup to turn while wet or gritty. If a control becomes stiff, stop and check the manual rather than flooding it with cleaning solution. Manufacturer service is safer than improvised disassembly of a precision optical instrument.
After rain or heavy dew
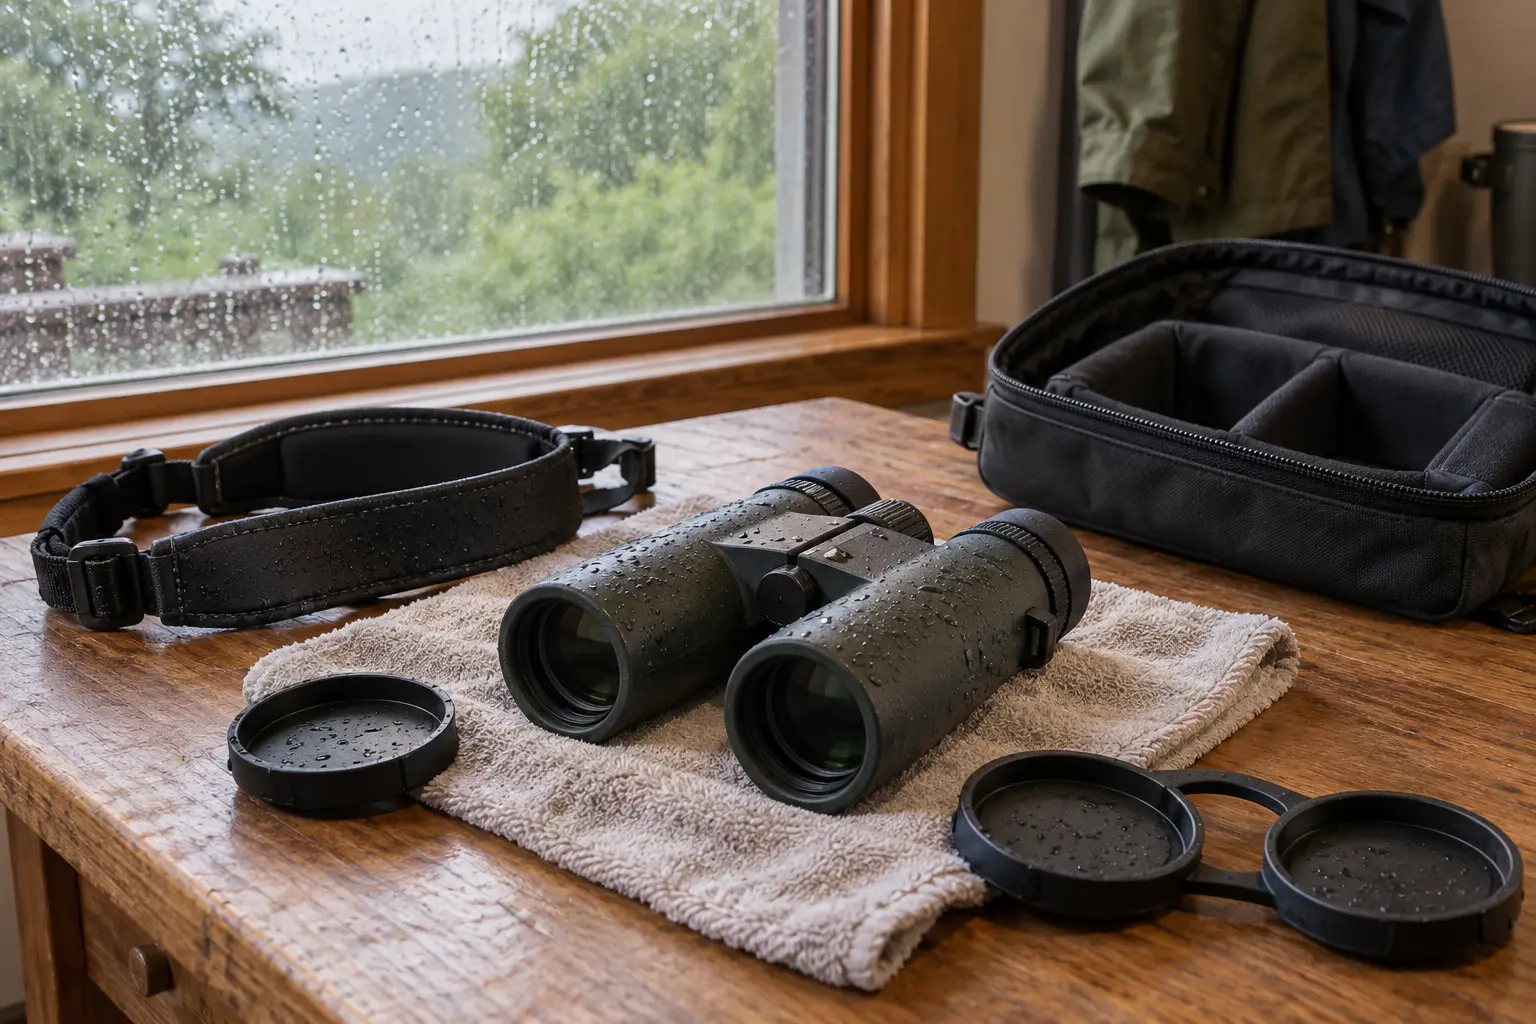
A binocular used outdoors may collect moisture on the armour, strap, eyecups and lenses. Wipe the exterior following the maker’s instructions and allow the instrument to dry in an appropriate environment before storing it. Nikon warns against leaving damp binoculars in enclosed cases because moisture can contribute to mould. Do not use intense heat from a hair dryer, stove or dashboard in an attempt to speed drying; excessive temperature can damage components. If condensation appears repeatedly inside the optical path, contact the maker or qualified service provider rather than trying to open the sealed body.
Salt spray and muddy-water precautions
Coastal birdwatchers may expose binoculars to salt mist, while wet trails can cover their bodies in muddy splashes. Salt crystals and grit can scratch coatings if wiped across them. Nikon publishes special exterior-rinsing advice for its waterproof models under certain conditions, but that advice does not automatically apply to unsealed or older binoculars. Check the exact manufacturer’s instructions before using water. Where the design cannot safely be rinsed, use the approved gentle cleaning or arrange professional care. Avoid transferring cleaning techniques from one waterproof binocular to another without checking stated limitations.
Cleaning eyecups and external armour
Rubber eyecups and textured housings collect skin oils, dust and sunscreen during ordinary use. These areas can usually be handled separately from precision optical glass. Follow the model’s recommendations for mild exterior cleaning and do not use aggressive solvents that may affect rubber, adhesives or markings. Dry the eyecups before twisting them through their adjustment positions. An uncomfortable or sticky eyecup can make proper eye relief harder to achieve, especially for someone wearing glasses. Keeping contact surfaces in good condition is part of preserving an enjoyable viewing experience, not just making the binoculars look new.
Storing binoculars to prevent mould
Humidity, warmth and prolonged storage in damp fabric cases can encourage mould. Nikon recommends avoiding unsuitable high-humidity locations and using appropriate dry storage methods. Inspect the binoculars after wet trips rather than closing the case and forgetting them. Consider the climate and ventilation of the storage location, and keep desiccants properly separated from lens surfaces if used according to the maker’s advice. Mould inside an optical system may require expert service. Prevention through careful drying and sensible storage is substantially easier than trying to remove contamination from inaccessible internal lenses. After cleaning and drying, follow the guidance on packing and storing binoculars to keep grit and moisture away from the lenses.
Recognizing internal fog or fungus
An external fingerprint often changes or disappears during approved gentle cleaning. Internal haze, persistent spots deep within the viewing path or repeated internal condensation are different problems. Do not attempt to reach interior lenses by unscrewing the body. Binoculars rely on accurately aligned optical elements; inappropriate disassembly can introduce more dust, disrupt collimation and compromise sealing. Record when the issue appears, such as after a temperature change or rain, and contact the manufacturer or a qualified optical repair service. External cleaning cannot fix every form of poor image clarity.
Protect lenses while travelling
Lens caps, a suitably padded case and a secure strap reduce exposure to dust and accidental impact. Keep metal keys, chargers and other hard objects away from exposed glass when packing. Before a hike, inspect the strap attachment points and ensure that the binoculars cannot swing into rocks or railings. Nikon warns that hard impacts can disturb optical alignment even when no external damage is obvious. For frequent field use, balance access with protection: carrying equipment without caps all day may save seconds, but increases the likelihood of unnecessary lens contamination.

A five-minute post-trip routine
After coming home, check whether the binoculars are damp, inspect the outside for dust and ensure that the lens caps are clean. Let moisture dissipate using the manufacturer’s storage directions. Remove loose particles only if necessary and clean obvious smudges with approved optical materials. Check that the focusing wheel, eyecups and diopter still operate normally without forcing any control past its limits. Return the instrument to a safe, dry place away from high temperatures. A consistent routine reduces the need for intensive cleaning and makes it easier to notice damage early.
The safest long-term approach
The basic sequence is simple: avoid needless lens contact, remove grit before wiping, follow exact manufacturer instructions for smudges and keep the instrument dry in storage. Do not experiment with strong household cleaners, aggressive polishing, unapproved rinsing or opening sealed housings. If a stubborn stain or internal haze remains, seek qualified help rather than increasing force. Proper care matters because even a high-quality binocular can become less useful when coatings are damaged or internal alignment is disturbed. The best cleaning method is the gentlest one that reliably addresses the actual problem.
Manufacturer guidance
About the author
Simon Jack
Simon Jack is the named author of FieldLens Guide's research-based binocular, spotting scope and wildlife observation articles. His published editorial approach focuses on verifying model-specific manufacturer specifications, explaining optical tradeoffs in plain language, and matching equipment to real birdwatching, hiking and nature-observation needs. These articles do not claim hands-on product tests unless explicitly documented.