

How to identify distant birds with a spotting scope involves more than zooming in. The most reliable field method combines broad observations—habitat, size and shape, colour pattern and behaviour—with careful magnification, a stable tripod and honest uncertainty. Cornell Lab and Audubon both emphasize the value of structure and context before chasing tiny plumage details. The steps below are designed for birdwatchers observing waterbirds, shorebirds and perched wildlife at a respectful distance. Keep identification secondary to animal welfare; the guide to watching wildlife without disturbing it explains how to choose and leave a viewing position.
Why identification gets harder at a distance
A spotting scope enlarges a bird’s apparent image, but distance, air shimmer, backlighting and a narrow field can hide diagnostic features. A larger view does not automatically provide enough evidence to name a species confidently. The most reliable approach begins with the broad features that remain visible: shape, approximate size, posture, behaviour and habitat. Cornell Lab’s four keys—size and shape, overall colour pattern, behaviour and habitat—provide a useful structure. Treat the scope as an aid to observation rather than a machine that turns every distant speck into a certain identification.
Locate the bird with binoculars first
Use your naked eyes and binoculars to scan the full shoreline or tree line before setting the spotting scope to high power. Choose a recognizable landmark near the bird, such as a rock, reed clump or exposed branch. Mount the scope securely, begin at low magnification and aim at that landmark. Finding the subject through a narrow high-power field is much harder than finding it through binoculars. This two-step technique conserves time when birds are moving and reduces the temptation to swing a heavy scope wildly across other observers. Our binoculars-versus-spotting-scope guide explains when each instrument is easiest to use.
Record habitat and location
Where a bird is observed changes which identifications are plausible. A compact shorebird feeding on a rocky coast may belong to a different shortlist from a similarly sized bird probing a freshwater mudflat. Note the date, region, elevation where relevant and broad habitat before staring at fine plumage. Season and migration timing can be useful context, but they should not override a clear structural contradiction. Use current regional bird references rather than assuming a species is common everywhere in a large country. Habitat is evidence, not proof on its own.
Start with silhouette and proportions
At a distance, body shape can be more reliable than subtle colour. Note whether the bird is long-necked or compact, heavy-bodied or slender, short-legged or tall, and whether its bill is thick, needle-like, curved or downturned. Observe the relative size of the head, wings and tail. Audubon’s identification guidance emphasizes structure because light and feather wear can change the apparent colour of birds. A silhouette can often identify a general group even when individual feather markings are unavailable through haze.

Use a reference bird for relative size
Absolute size is difficult to judge across open water because there may be no trustworthy scale. If two birds stand close together at similar distance, compare their relative body length, leg height and bill proportions. Avoid comparing a bird near the scope with one much farther away because perspective changes apparent size. Record whether the subject seems smaller than an adjacent gull, duck or wader rather than guessing a length in inches from an unsupported view. The scope helps assess proportions, but only if comparison conditions are sensible.
Study bill shape before tiny colours
A bill’s relative length, thickness and curvature can be a useful clue in waterbirds and shorebirds. Look for whether it is straight, subtly drooping, noticeably curved or broad at the base. The viewing angle may hide its real shape, so watch the bird turn its head before making a conclusion. A shadow can make a narrow bill appear thicker, while distance can obscure small changes near the tip. A single unclear glimpse should not be treated as decisive evidence for a difficult species.
Observe leg length and movement
Legs may help separate broad bird groups, but mud and water often conceal their full length. A bird standing in water can look much shorter-legged than one on dry ground. Record whether it runs, walks steadily, probes the sediment, swims or stands motionless. These behaviours can narrow the possibilities alongside shape and habitat. Do not assume that one brief movement is a permanent species trait; individuals respond to feeding conditions and disturbance. Patience often yields a clearer behavioural observation than immediately using maximum magnification.

Compare overall colour patterns
At longer distances, large pale and dark areas may be more dependable than individual fine feather colours. Note whether the underparts are light, whether the back appears uniformly dark or mottled, and whether the head contains a conspicuous contrasting patch. Strong backlighting can turn coloured birds into silhouettes, while low evening sun may warm otherwise neutral tones. Write down the pattern before consulting reference pictures. Audubon cautions that lighting, worn plumage and staining can change what field marks appear to be present.
Seasonal and age-related plumage
Some bird species change appearance between breeding and nonbreeding plumages, and juveniles may look different from adults. A reference photo showing only a brightly patterned adult male can mislead when the observed bird is in plain winter feathering. Check multiple seasonal images in a regional guide, preferably showing the same posture and age class as the subject. Record which marks you actually saw instead of selecting a species because a photograph has one similar colour. The ability to say ‘unidentified shorebird’ is often more accurate than an overconfident label.
Magnification should match the air
Begin around the lower end of the scope’s zoom and increase only while the image reveals more diagnostic detail. Heat shimmer over mudflats or open water can blur the outline even when the scope is perfectly focused. A large bird at 60x may look more impressive but less informative than the same bird at 30x. If the view becomes unstable, reduce power and reconsider the features visible at lower magnification. The maximum zoom is not a badge of identification accuracy, and an expensive instrument still faces environmental limits.
Focus and tripod stability
Fine markings require a sharp, steady image. Make sure the scope’s quick-release plate is locked, its head is balanced and the legs stand securely before attempting a detailed comparison. Focus on the bird rather than a reed in front of it, and wait for vibrations to settle after adjusting the wheel. If the image repeatedly drifts, check the head friction. A shaky view can create misleading impressions of bill and feather edges. Stability and patient focusing may be more useful than upgrading from one scope objective size to the next. For a repeatable field procedure, follow our scope and tripod setup guide.
Avoid relying on digital zoom alone
A phone attached to a scope can document a distant bird, but digitally enlarging the recorded image does not recover detail absent from the optical view. Image sharpening software can also create artificial-looking edges or patterns. Keep original files and record the actual observation notes alongside any edited crops. Digiscoping photographs are useful as evidence when they show real diagnostic characters, not because they provide limitless enlargement. Our phone digiscoping guide covers stable mounting and camera alignment.
Listen, but interpret sound appropriately
Calls can add useful identification evidence when they are heard clearly and associated with the correct bird. In mixed flocks or noisy wetlands, a sound may come from a different individual outside the scope’s field. Use the observed bird’s behaviour and direction of sound before linking the two. Recording a call can aid later reference comparison if local rules and privacy are respected. Sound is one clue among several; do not assign every background call to the bird you happen to be watching through magnified optics.
Write down observations before opening an app
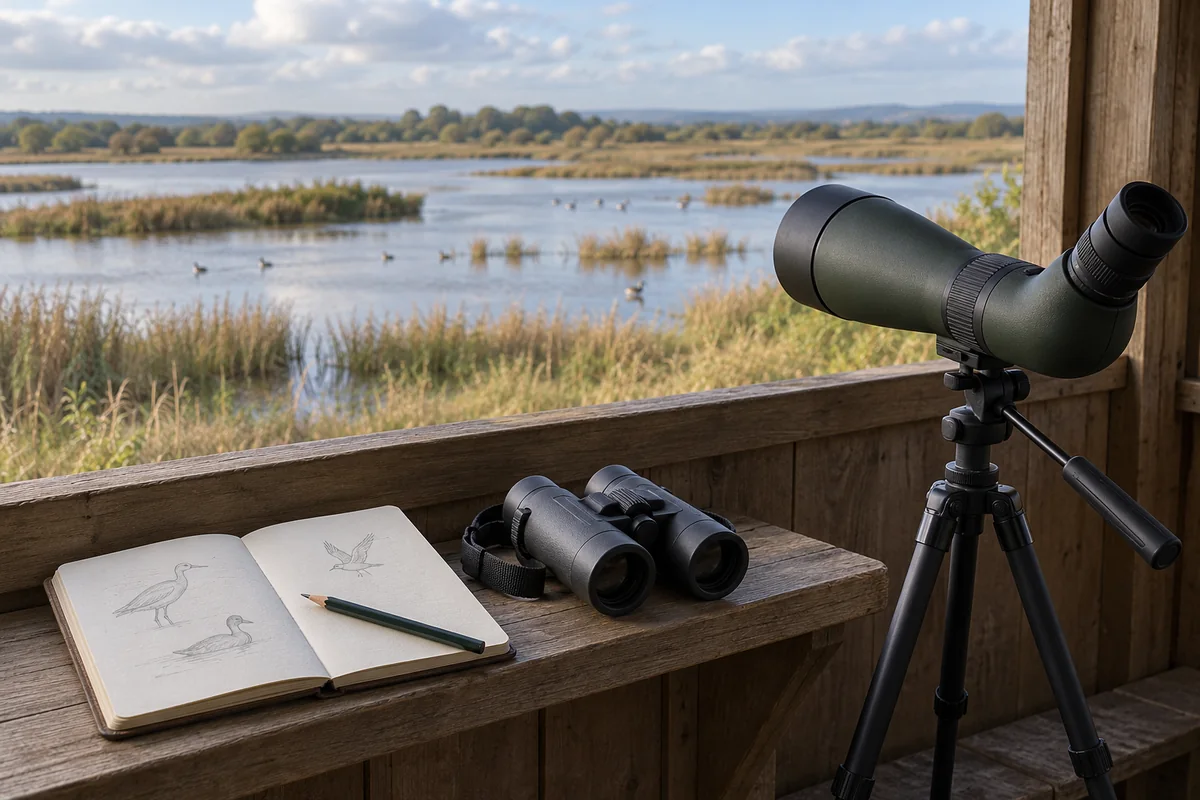
A quick field note should include habitat, time, estimated relative size, bill and leg shape, posture, key plumage patterns, behaviour and uncertainty. Make a rough sketch if a phone picture is unclear. Recording these features before looking through multiple app suggestions reduces the risk of remembering the bird as whichever similar photograph appeared first. A reference guide can then be used to test candidate species against the entire observation. Apps help organize possibilities but cannot validate a field mark you never actually saw.
Use comparison species deliberately
Once the bird is narrowed to a group, compare two or three likely species rather than browsing an endless gallery. Write down which feature is expected to differ: bill length, head shape, underwing pattern or feeding style, for example. Return to the scope to check that single difference, if the bird remains visible. Pay attention to contradictory evidence as well as matches. If the critical feature cannot be seen due to distance, it is acceptable to leave the identification at the group level. This is more useful for learning than forcing a species name.
Respect wildlife and shared viewing spaces
A spotting scope lets observers study birds from distances that may reduce the need to approach them. Do not leave established paths or approach nesting colonies simply to obtain a clearer view. Avoid blocking a public hide with a large tripod or directing equipment into another observer’s space. If several people share a scope, start them at lower magnification and explain the landmark so they can acquire the bird. Responsible observation puts bird welfare and safe access ahead of a perfect photograph or certainty about one difficult identification.
A practical identification checklist
First identify habitat and likely species group with binoculars. Use a stable spotting scope at low power to locate the bird and note silhouette, bill proportions, relative size and movement. Increase magnification only when conditions permit more useful detail. Record large colour patterns and visible field marks without inventing unseen features. Consult regional references and compare a short list of plausible birds. When evidence is insufficient, record the most specific reliable identification, whether that is a species, genus or broad group. Confidence should grow from observations rather than assumptions.
Further reading
- Cornell Lab: Four Keys to Bird Identification
- Audubon: How to Identify Birds
- FieldLens: Spotting Scope Magnification
About the author
Simon Jack
Simon Jack is the named author of FieldLens Guide's research-based binocular, spotting scope and wildlife observation articles. His published editorial approach focuses on verifying model-specific manufacturer specifications, explaining optical tradeoffs in plain language, and matching equipment to real birdwatching, hiking and nature-observation needs. These articles do not claim hands-on product tests unless explicitly documented.