
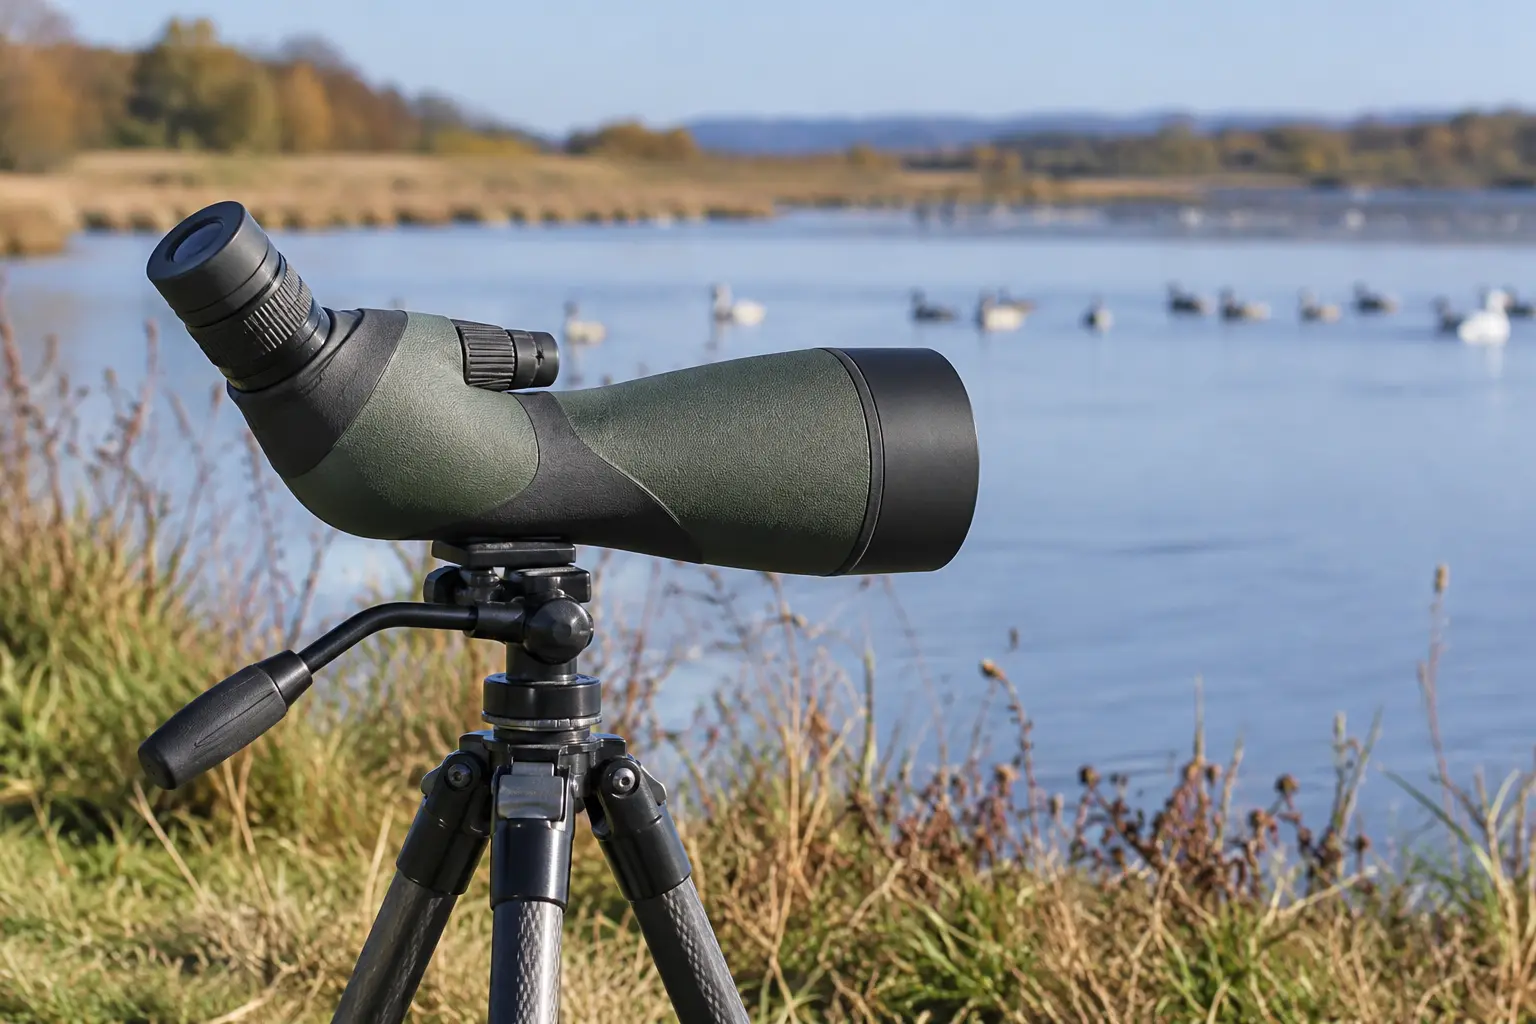
Choosing spotting scope magnification for birding is not as simple as buying the largest zoom range. The best power is the one that reveals identifiable detail while maintaining a usable field, adequate light, and a steady view. A scope marked 20–60x can be useful over much of its range, but higher settings may be compromised by wind, atmospheric shimmer or a small exit pupil. Beginners generally benefit from learning target acquisition at lower power before using demanding high magnification. An effective scope is a complete optical and tripod system, not just a number on an eyepiece.
Magnification is useful only when it reveals new detail rather than enlarging shake or air shimmer. Our distant bird identification guide explains when to increase zoom, while the beginner spotting scope comparison shows how starting power changes target acquisition.
Understanding what the number means
Magnification describes the apparent size of a distant subject. At 30x, an ideal optical image has three times the angular magnification of a 10x binocular, but that does not automatically mean three times the useful detail. The optical system must resolve the markings, the atmosphere must be sufficiently stable, and the scope must remain steady. Some distant birds cannot be identified confidently even at 60x when haze or poor light obscures them. Magnification is a tool for revealing detail, not a guarantee of accurate identification. For a handheld comparison, the binocular viewing-distance guide separates detection, recognition and identification from magnification alone.
Why low zoom is valuable
The lower end of a zoom range often offers a wider true field and a larger exit pupil than the upper end. That can make a bird easier to find and the image more comfortable to examine. Beginning around 20x is a sensible technique for many scopes because you can acquire a distant landmark and then increase magnification gradually. Starting directly at 60x may result in a tiny search area and constant frustration. Good subject acquisition is part of effective birding and can matter as much as a theoretically superior objective lens.
The 20x to 30x working range
Audubon identifies moderate magnifications around 20x to 30x as effective for many general birding situations. They provide a larger apparent image than typical binoculars while remaining more manageable than very high power. A fixed eyepiece in that region can suit someone who consistently observes similar subjects, while a zoom lets the observer change framing as conditions demand. Actual optical quality varies with eyepiece design and price. A clear 25x view with good contrast may be more useful than an unstable or dim 45x view.

When 40x is appropriate
At 40x, a stationary distant bird may reveal plumage or bill details that were harder to inspect at lower zoom. However, the field narrows and focusing becomes more sensitive. A secure tripod, good optics and clear air are important. Heat shimmer over sand or water can reduce the gain dramatically. The right technique is to find and focus the bird at moderate power, then increase zoom while checking whether genuinely new information appears. If not, return to the clearer setting rather than continuing to enlarge an indistinct shape.
The challenges of 60x
At 60x small movements of the tripod and focus control become apparent. The view may be darker, and atmospheric disturbances are enlarged. High magnification can still be useful with suitable equipment and calm conditions, but it is not a realistic default for every birding session. A premium scope cannot cancel heat shimmer or poor visibility. When distant detail starts fluctuating or disappearing, reducing zoom often produces a more dependable image. Do not buy primarily on maximum power unless you can demonstrate that you will use it under normal conditions.
How objective size affects exit pupil
Exit pupil is approximately objective diameter divided by magnification. A 65 mm scope gives about 3.25 mm at 20x, 2.17 mm at 30x and 1.08 mm at 60x. An 80 mm scope gives about 4 mm, 2.67 mm and 1.33 mm at those settings. These calculations illustrate the shrinking beam at higher power. They do not measure light transmission, sharpness or eye relief. Coatings, design and the observer’s physiology affect the perceived view, so use the figures as context rather than a complete ranking. For the portability and potential light-collection tradeoffs, see our 65mm versus 80mm scope guide.
Atmospheric shimmer
Warm ground, water and uneven air temperatures can create moving distortions over long distances. At high zoom they can make feathers and edges appear to ripple, even when the scope is perfectly focused. Try observing earlier in the day or from a different angle, and reduce magnification when the distortion is obvious. Neither an 80 mm objective nor premium ED glass can eliminate an unstable air path. This is why binoculars and moderate spotting-scope power can sometimes provide more reliable identification than the maximum available zoom.

Stable tripod requirements
High magnification exposes weaknesses in a tripod. Wind, unbalanced heads, extended thin leg sections and touching the focusing wheel can all cause image shake. Use a securely mounted scope with appropriate capacity and smooth controlled movement. If the image continues oscillating after you release the controls, review support stability before upgrading magnification. A properly supported modest scope may resolve more useful detail than a top-tier optical tube on a flimsy stand. Include support costs when comparing complete spotting-scope setups. For the support side of this decision, compare tripods for birdwatching scopes.
Field of view at different powers
At lower zoom, many spotting-scope eyepieces show more of the shoreline or tree line, improving the ability to locate a bird. At higher zoom the same subject occupies more of the field and the surrounding context contracts. The exact change varies among eyepieces, so consult official specifications. When a bird moves out of view, zoom down, find a landmark and reacquire it. Searching at maximum power wastes time and may cause you to lose the subject entirely. Practise this sequence with a stationary target before attempting challenging wildlife.
Eyeglass comfort
Glasses wearers should check eyepiece eye relief and eyecup adjustment at the actual magnifications they expect to use. A zoom may change viewing comfort as the eyepiece mechanism moves. If the image becomes cut off or dark crescents appear, adjust your eye position and eyecup before assuming the glass is defective. A magnification that is theoretically ideal but uncomfortable to use for more than a minute is of limited value. Test a complete circular image with your regular prescription frames.
Fixed versus variable eyepieces
A fixed eyepiece has one magnification and may suit a user with consistent viewing distances and a stable observation station. A zoom allows lower-power acquisition and higher-power detail without swapping accessories. However, Audubon cautions that low-quality zoom eyepieces may compromise the view at demanding settings. Check which eyepiece is included with the scope, whether alternatives fit the correct generation and how much field and eye relief are available. Comparing maximum zoom alone ignores these important differences.
Flying birds compared with perched birds
Fast flying birds move unpredictably through a narrow field, making high-power scope tracking difficult. Binoculars are often easier for such sightings. A distant perched raptor or stationary shorebird presents a more suitable opportunity for deliberate scope observation and increased magnification. Keep the tripod movement smooth, start wide and raise power once the target settles. This practical division prevents disappointment with an otherwise well-designed scope. The best optical instrument depends on subject movement as well as distance.
Testing your useful limit
Choose a stationary subject with fine visible details. Start at the lowest power and focus carefully, then raise magnification in stages. Notice when additional zoom stops revealing new markings or when the image starts shaking and shimmering. Repeat the experiment under a different light level and in modest wind if possible. Record which settings actually helped identify details. A personal record across ordinary conditions is more useful than assuming you always need the highest advertised magnification.
Choosing a sensible range
A spotting scope that includes around 20x to 30x within its range is a practical general birding starting point, provided the eyepiece and optical tube deliver a clear image. Greater zoom can be useful for distant stationary subjects under favourable conditions, but should be considered optional flexibility rather than a guaranteed performance upgrade. Prioritize eye comfort, usable field, stable support and model-specific optical evidence before being impressed by a very large number printed on the box.
Supporting reference
Cornell Lab or Audubon guide to spotting scopes
About the author
Simon Jack
Simon Jack is the named author of FieldLens Guide's research-based binocular, spotting scope and wildlife observation articles. His published editorial approach focuses on verifying model-specific manufacturer specifications, explaining optical tradeoffs in plain language, and matching equipment to real birdwatching, hiking and nature-observation needs. These articles do not claim hands-on product tests unless explicitly documented.